vue 生命周期
在另一片博客中我已经有详细讲过vue 生命周期
代码
1 |
|
代码执行结果如下:

beforeCreate 到 mounted
- 先创建父组件
beforeCreatecreatedbeforeMount - 按顺序创建子组件
beforeCreatecreatedbeforeMount - 先挂载子组件
mounted - 在挂载父组件
mounted
总结:从创建到挂载,是从外到内,再由内到外
beforeUpdate 到 updated
注:
只有在标签上绑定了 data 时,data 发生改变,才会触发 updated 钩子函数。如果只是在控制台改变 data,而没有反馈到视图上,则无法触发。
- 父组件点击事件更新
data中的数据
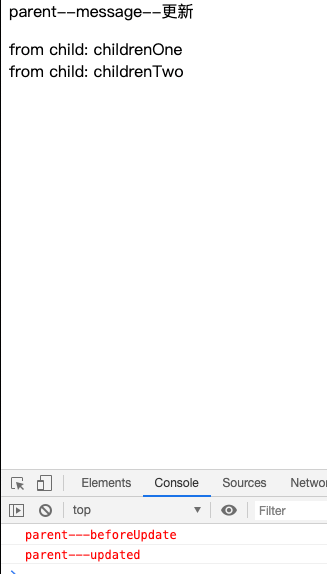
他不会重新渲染子组件
注:
react 中如果父组件状态更新,子组件也会跟着更新。稍后的文章会讲怎么解决这种问题。
- 子组件点击事件更新
data中的数据
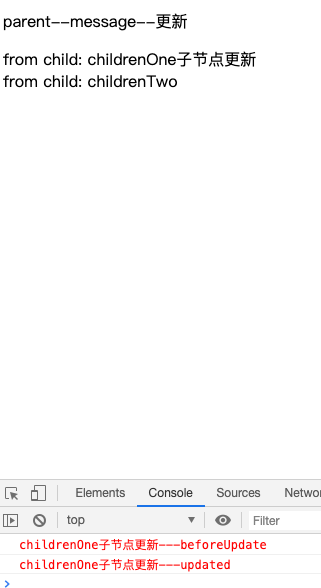
这个他也不会重新选然父组件
注:
如果是 mixins 的话当 data 中的数据改变时,不会触发子组件中的 updated 函数。触发的顺序仍然是 mixins 先于组件
总结:
父子组件 update 互相不影响
beforeDestroy 到 destroy
在浏览器中执行:
1 | vm.$destroy(); |

- 父组件先
beforeDestroy - 子组件
beforeDestroy - 子组件
destroyed - 父组件
destroyed
总结
整体来说vue 父子组件生命周期执行顺序为从外到内,再从内到外,**总结:生命周期遵从“从外到内,再从内到外,mixins 先于组件”的原则。**